Overview
Certain effects in the Avid timeline must be pre-rendered in order for the footage to work correctly in Resolve and other software.
The following steps are require for any effects that need to be pre-rendered.
Step by Step Walkthrough
- Set an in point before the clip, and an out point after the clip.
- Select Clip / Render In to Out and select OK on the dialogue box that opens.
This will render the shot to ensure that you are watching the clip with the effect in place.
- Watch the clip and confirm that the editor has correctly applied the effect. If you’re not sure, check with the Assistant Editor.
- If you believe the editor has not correctly applied the effect, re-do it yourself. We are the last eyes that see this before Mastering.
- Select the clip to be exported and set an In & Out point around the clip.
- Ensure the view track and selected tracks also reflect the shot you want to export - do not bake in timecode tracks, etc.
- Select File / Export
- Export Setting should be set to 201 QT HD DNxHD 185
- Save the clip to B:\Temp\HAA<episode number>.<shot number>
eg. HAA6000.S01
- Reimport this exported quicktime. Select File / Import
- Check that the Video and Audio drive are set to Media01 (B:/)
- Check that the colour space for the import is set to rec709 (use the Options button)
- Navigate to the newly created quicktime, and select OK
- If AVID prompts you - confirm that you wish to import using original video resolution
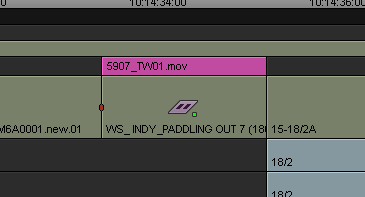
- Colour the clip magenta for easy identification of pre-rendered effects.
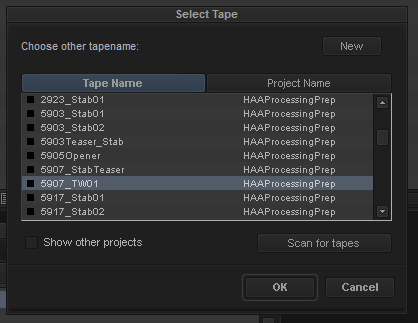
- Assign a tape name to the newly imported clip
- Right click on the clip and select Modify / Set Source
- Click New to create a new tape name
- name the tape z<episode number>.<shot number>
eg. HAA6000.S01
- Place the clip back over the original footage on the next layer up (if the original shot was on V1, put it on V2)
- Check the first frame, last frame and approximately middle frame by changing the visible track. The frames should be identical, check the scopes machine for any changes that are not visible on the normal monitors.
- Watch the clip through multiple times, you must ensure that the clip replaced is identical to the rendered effect.
