Overview
Before a signal can be safely recorded to the tape (with good timecode sync) the tape must be "striped" with a black signal and a properly formatted section of timecode. This ensures that your final recording will also have properly formatted timecode.
The striped section of tape just needs to be long enough to allow for the start timecode of your actual recording to be accurate.
Step by Step Walkthrough
Configure the deck settings
- Check that the Deck is in 25PsF mode
- Get a new blank tape & ensure the Write Protect tab is off
- Insert the tape and check that it is fully rewound
This tape is about to be erased
- Configure the Signal - Press PF1 Button
- F5 = Black (Not colour bars)
- F6 = Silence (No Tone)
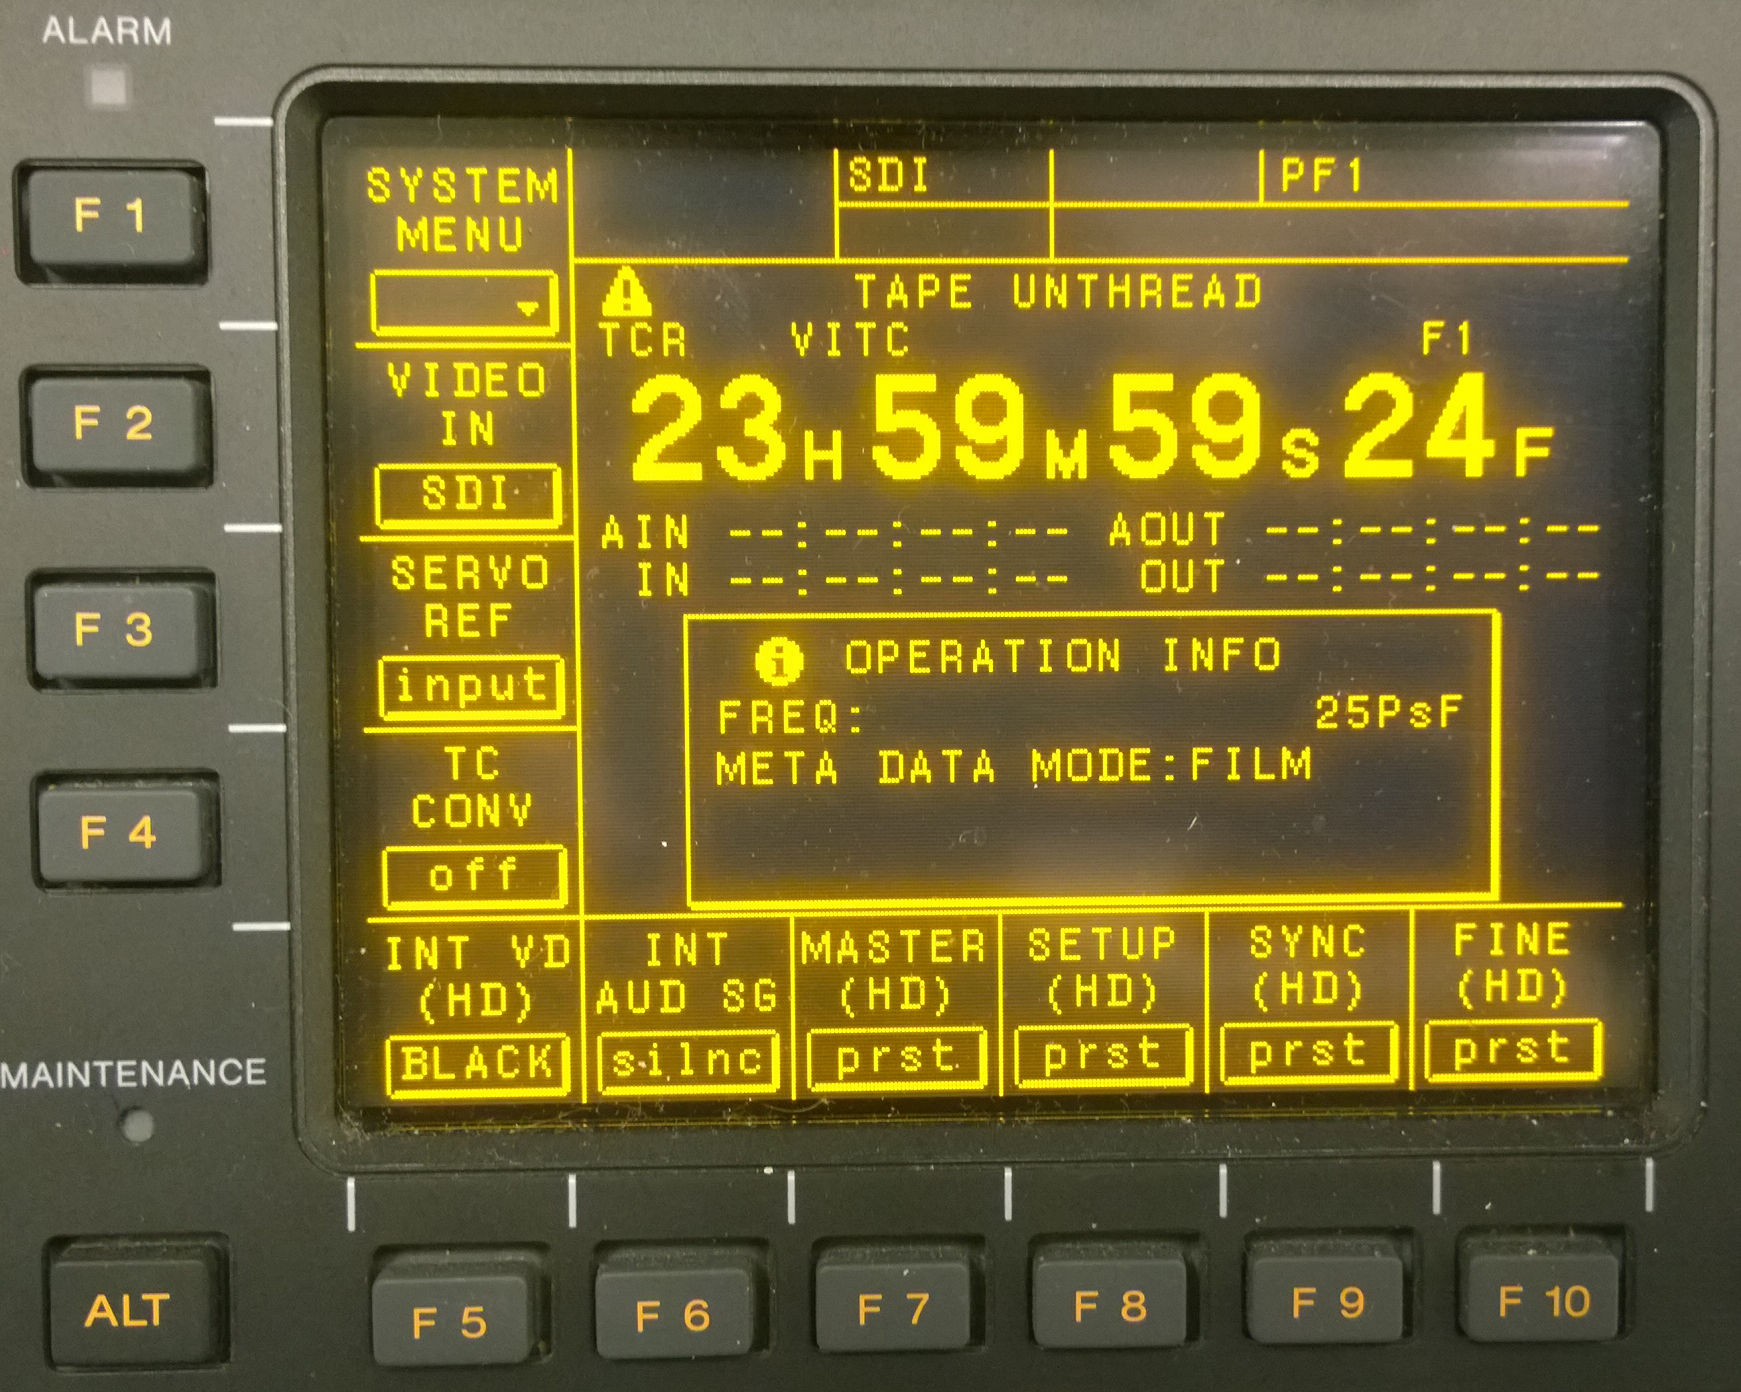
- Configure Timecode Format - press TC button
- F6 = Int
- F7 = Preset
- F8 = Rec
Stripe the tape
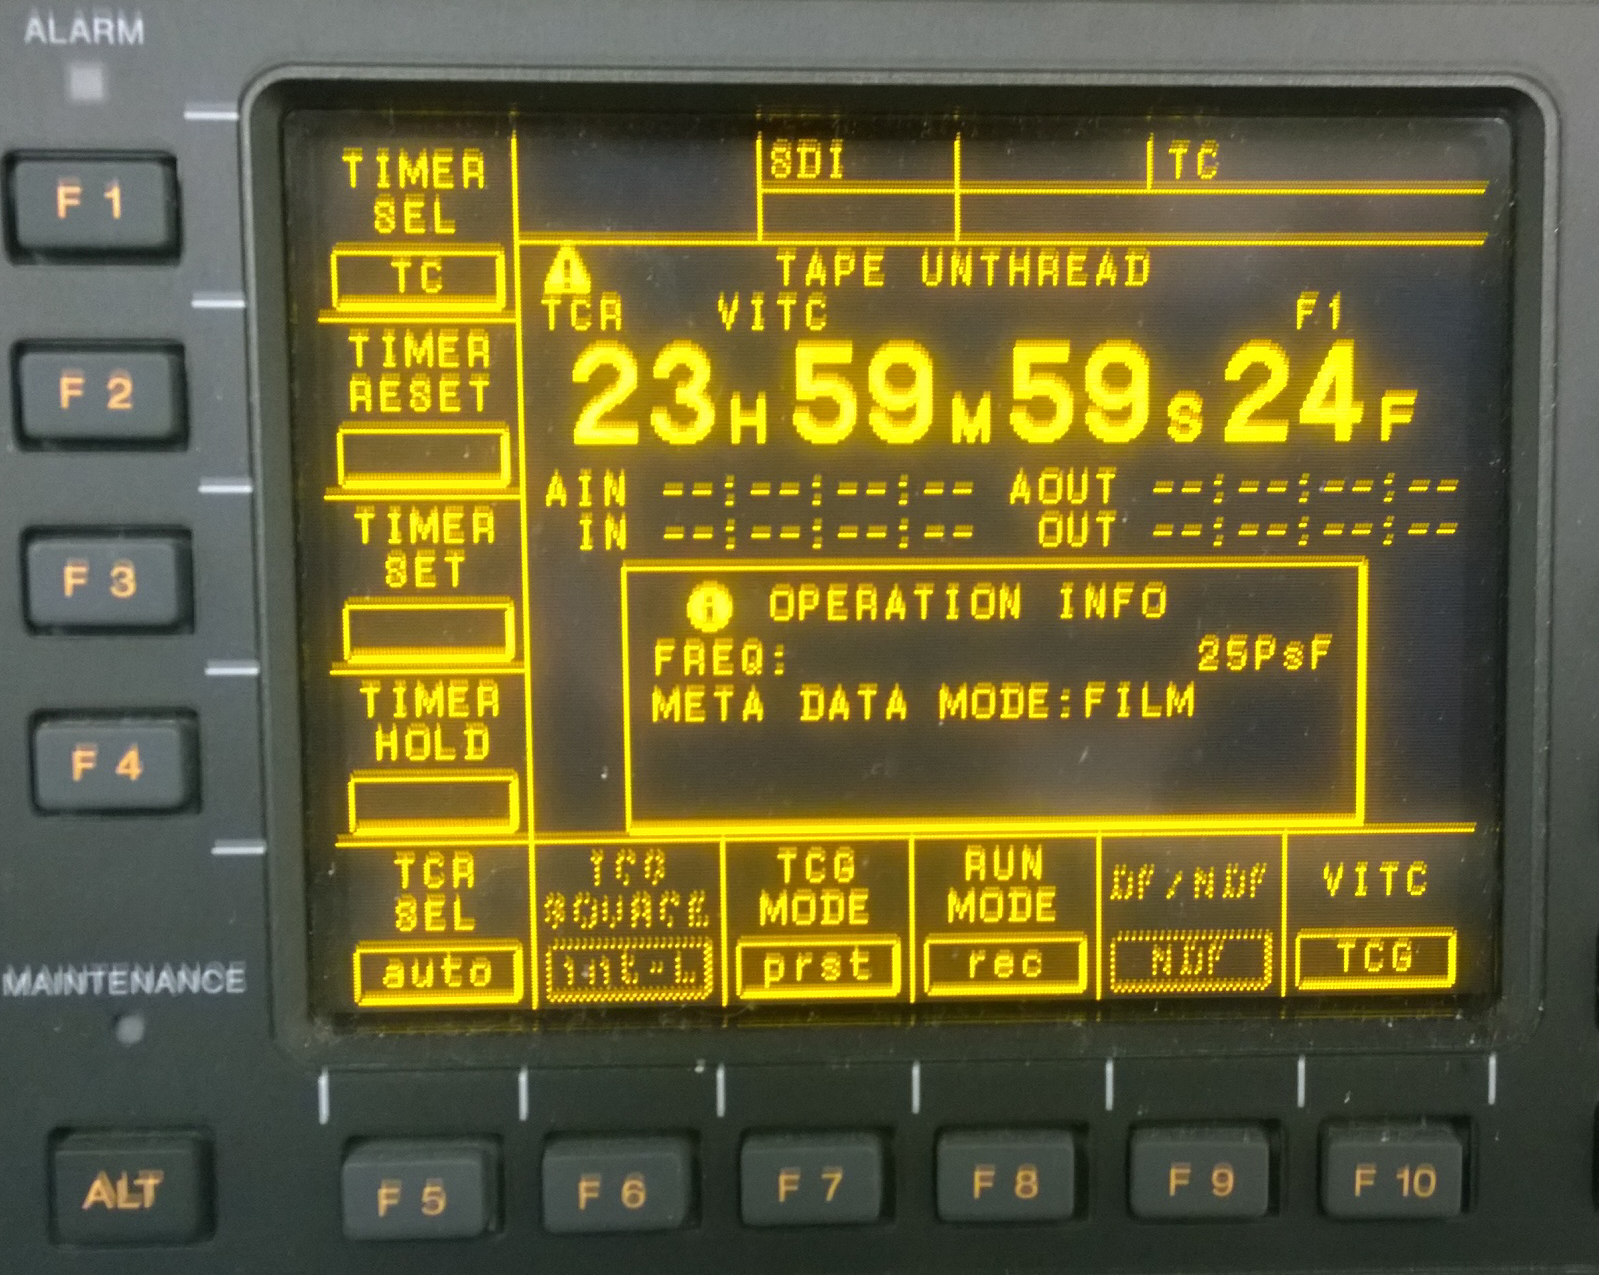
- You need to tell the tape what timecode to start recording at. Press TC button
- Enter timecode of 9:58:00:00
- Press the yellow Set button
- Press F3 (Timer Set) - This will make the timecode displayed disappear, with no indication that it has been successfully set.
- Press the Play and Red Record Buttons simultaneously (Crash Record)
This should cause timecode to roll starting at 09:58:00:00 - if it hasn't started, stop the recording, rewind the tape and start this section again.
- Let the tape roll past 09:58:30:00 (the start of the HAA timeline timecode) then Press Stop
- Rewind the tape a few seconds, ensuring you stop the rewind in valid timecode.
- Repeat this process for each tape that you will use this day.
- Reset the deck's settings to those found in Section 110. Playout Master Tapes
